Slide show image
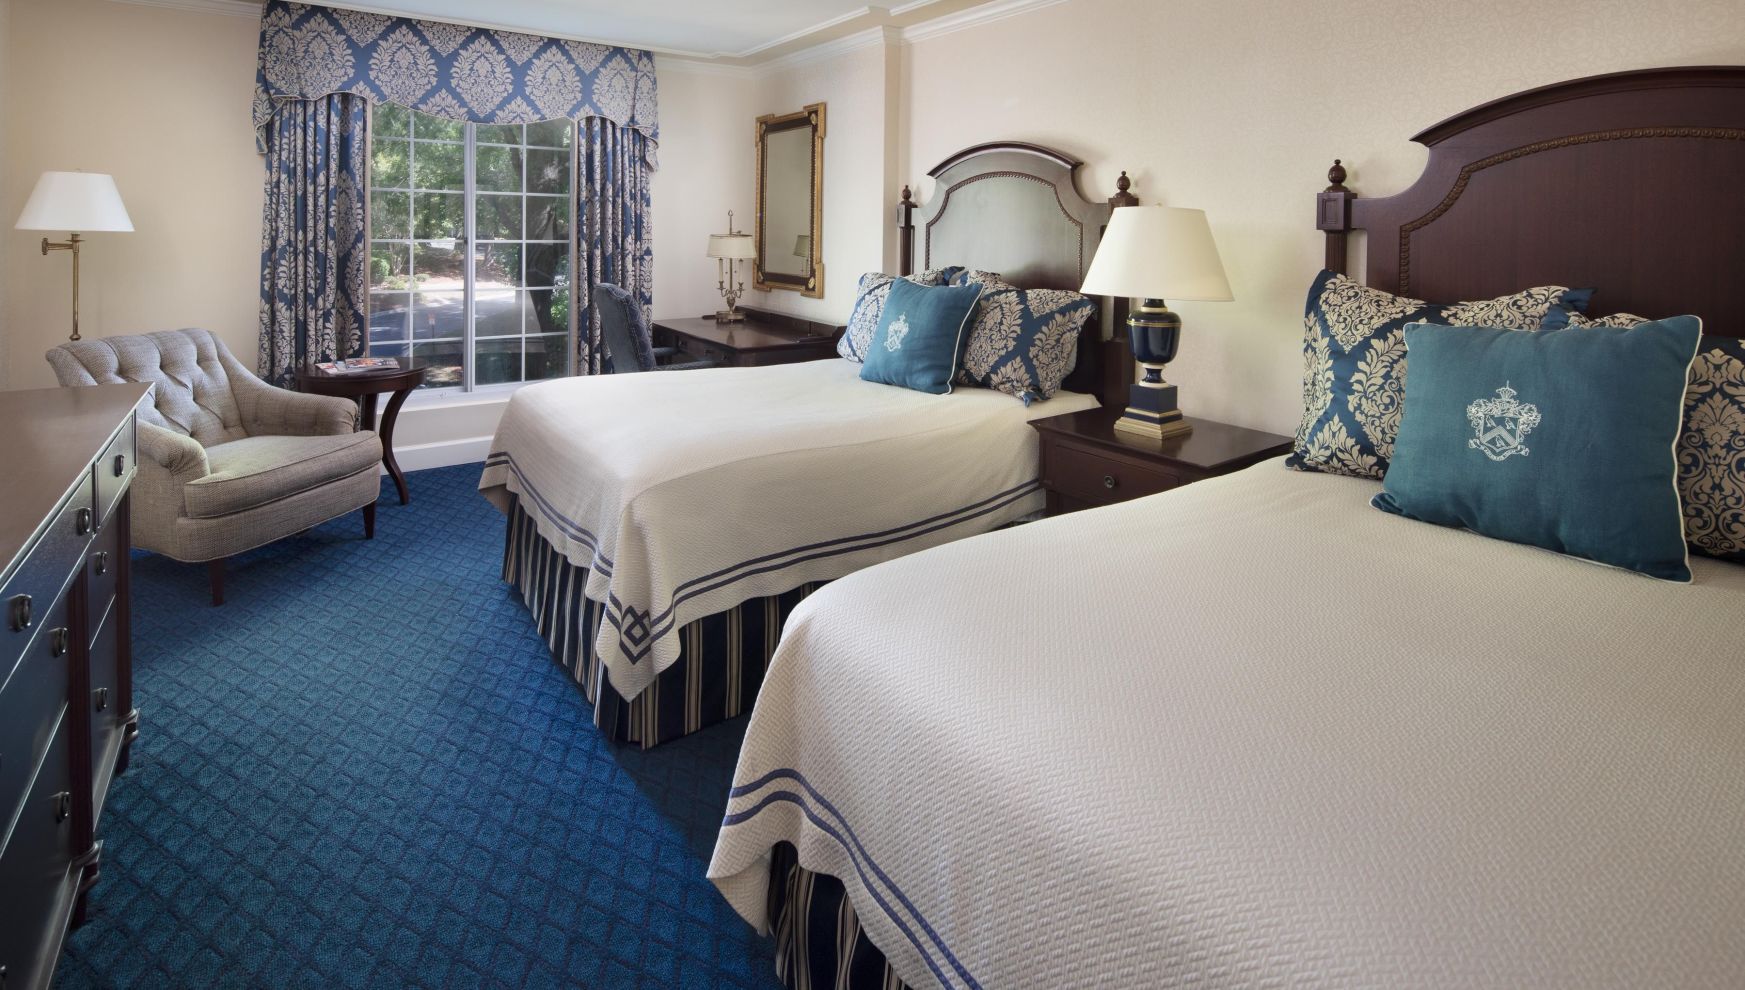
A Hotel Room With Two Beds

Accessible Double Room

The 297 square foot Accessible Double Room offers two full-size beds and a bathroom fully outfitted with accessible features including a transfer shower with grab bars, a built-in shower seat, lowered removable shower head, high toilet with grab bars (toilet seat available on request), towel rack/shelving below 33”, open vanity with wheelchair access and 32” high bathroom countertop. Guests can safely enter and leave the 36” wide entrance door by using the lowered peephole at 48” or doorbell also suited for the hearing impaired. In addition to our exceptional amenities, Turndown Service is also provided to all guests and includes a brief refresh of the room with gourmet chocolates.

For further information about accessible features, please contact Guest Services. 

Hole 1 Par 4

Welcome. Our classic layout begins with a sweeping right to left dogleg that narrows the further you play into it. There is plenty of room to the right but too much in that direction will adversely affect your yardage to the hole. Swing your way just short of the neck of the fairway where your successful positioning should leave approximately 160 yards to the middle of the green for a nice two putt par opener.

Hole 2 Par 4

From the tee, our second dogleg is sharper and immediately suggests an advantage for those cutting the corner. Don't believe your eyes! Play straight away toward the group of tall pines. Rees Jones has given you a long green as a target but it is well protected with formidable right side bunkers. Any shots that are hit long will roll down a steep embankment leaving a very difficult pitch. Consider playing safely toward the left side and take your chances putting.

Hole 3 Par 4

What a golf hole! Thanks, Rees. This is an exacting par four which calls for a chess move off the tee. A straight approach to the throat of this small, shielded green is possible if you are willing to flirt with the right side fairway bunker on your drive. The left side is the safer route but it will leave you with a line that requires playing between bunkers short and water long. Either choice is challenging on this blue-ribbon hole. Good luck.

Hole 4 Par 3

Rees Jones has proven that great three pars don't have to be long. This jewel is framed by gallery mounds behind the green and is fronted beautifully by Dumpy's Creek. The short yardage invites a promising birdie opportunity if you can safely negotiate the bunkers front left and back right. Don't forget to factor the two tier green into you club selection.

Hole 5 Par 4

Duke's design starts your round with four position holes. Now its time for a power hole! You can clearly see the large right fairway bunker but there is plenty of room to the left. Just stretch back and let the big dog eat. Your long drive pays dividends in shortening your second shot since this green is flanked by bunkers on three sides.

Hole 6 Par 4

Location location location...the fairway sand line blends in visually with the green sand line to create an effect of bunkers everywhere. Let your opponents play out of the ninety three yards of fairway bunkers on the right. Your position in the short grass will be especially appreciated because it's all carry into another well protected, strategically contoured green.

Hole 7 Par 5

Here's your shot at our first par five but don't celebrate too early, its a brute. A prodigious driving hole where your best 300 yard drive can fly over the right side fairway bunkers leaving you a mere 272 into the green! For most of us, choices on the second are limited due to creek cutting only seven yards from the front of the green. Good news, if you can carry the green there's plenty of room long. Bad news, the real challenge is in putting this unique sculptured green that slopes strongly from back to front. Shots that end up above the hole will require the deft touch of one of our Duke Medical Center surgeons.

Hole 8 Par 3

Another great par three. Take a second look. The shot requirement is all carry over a monstrous fronting bunker...and uphill all the way to this three level green. Although you may not feel any wind on the tee, you would be wise to check the wind direction on the tree tops along the right side.

Hole 9 Par 5

Rees brings the front side to a close with a reachable par five that could yield a feathered vertebrate. The drive is straight away but will surely benefit from a right to left ball flight. The Washington Duke Inn provides a dramatic backdrop with lots of gallery locations to accommodate the fans who have come to watch you play. We know you're a crowd pleaser as you stand ready to rip your second shot into the center of this sizable green BUT, be sure to understand the errant shots missing this green will face difficult recoveries. A lay up short of the green must be played with care to improve your chances of leaving this hole with a one putt birdie.

Hole 10 Par 4

Congratulations. You've just completed the Jones' front nine and we hope you are headed toward your personal best at Duke Golf Club. This tee box is surrounded by gallery mounds but simply concentrate on your game instead of the crowd noise. The hole opens with a generous landing area and prefers a left to right tee shot moving away from the fairway bunker. The green is receptive and could yield birdie opportunities to balls landing in the right center of the target. Shots played defiantly left must fly the bunker knowing that anything long will be caught in a hollow behind the green.

Hole 11 Par 5

A truly strategic five par featuring a unique green design that is shaped into an "S" and literally painted into its surrounding landscape. A player's attitude and psyche will be molded by this critical turning point hole. This is the beginning of Duke's own "Amen Corner". A good score here can open up the entire back side but....This hole is reachable in two by smashing your drive long and left near the fairway bunker. Before you play your second and as you view your options from the top of the hill, take a moment to experience one of those delicious moments of truth that golfers relish. Any choice must factor in the cunning design of this green. Tom's Creek, protected by a bunker on each side which will require precision into the correct location. Regardless of your result, this hole is a golfer's delight. Enjoy this moment, its what golf is all about.

Hole 12 Par 3

Playing further into the 'Corner,' we arrive at one of Duke's photographic gems. You'll love this showpiece three par from any tee position. If you're playing the back tees, Rees has provided you with a peninsula green that provides challenge as well as aesthetics. It is a singular opportunity to prove your mettle. This hole confirms the fact that water has an uncanny ability to collect all those shots hit with hope rather than confidence.

Hole 13 Par 4

This short four par is simply outstanding. The Tee shot requires a premium on direction due to the trees and lateral hazards on both sides but allows an advantage to toy with the pond fronting the fairway. The ability to shorten the approach to the green even by one club might make the difference in hitting this diagonally designed green. Aim at the hollowed area in the middle of the green and forget the fooling with hold locations that lie next to hazard of every variety. Stead...play away please.

Hole 14 Par 4

This five par offers an opportunity to let the shaft out for all those playing the shorter tees. A back tee player is provided a slight left to right feeling on the drive and should play off the left side of the fairway. This hole seems like the calm in the middle of the "Corner" storm as it plays generously through our tree lined North Carolina landscape...until you are hitting for the green. Stay left in positioning your approach for two distinct benefits; you will be playing into the full length of the green and you might be able to use the built in ramp on the left side of the green to your advantage. This is our largest green and offers some tricky putts for all those who fail to land close to the hole.

Hole 15 Par 3

Just one more challenge before you finish Rees' "Corner". To compound your problems, this is the favorite location of tournament galleries because they can view the action on three holes at once. You are facing a slightly uphill, slightly long, slightly difficult three par where the wind can play a major role in your club selection. Swing with confidence, the green was built to hold a shot from a long club and includes a chipping bail out area to the left of the green.

Hole 16 Par 4

The inviting four par allows you a moment to enjoy the visual beauty and panorama from the Devil tee which is located on the highest point of the golf course. Any of the elevated tee boxes will give your drive extra carry as you try to land far enough into the dogleg to see the green. The short grass is lined with hanging hardwoods on the right and a series of fairway bunkers left and long. Your uphill second is played to a wide green divided by a slight ridge. Care should be given to the visual effect of short yardage created by the placement of the front bunker into the hillside.

Hole 17 Par 4

Through sixteen holes, the truly great classic golf course designs all seem to effortlessly take a player through every club in the bag and every corner of the mind. Then, with two holes left to play, the course demands a little extra to complete an experience found no where else in sport. Rees has continued in this classic tradition with his design of the seventeenth at Duke. A taxing driving hole, straight away but more, asking for both length and accuracy. Any tee shot other than long and straight will leave you with a real test for your long iron ability. Greenside bunkering creates additional hardship making this the most difficult hole on the course. Par is a good score.

Hole 18 Par 4

The eighteenth is one of the most challenging finishing holes anywhere. Sixteen yards longer than the mammoth seventeenth, it will also call for two very long and accurate shots to hit the green in regulation. The fairway slopes right to left so plan to land your drive on the right side for a clear second shot into this pear shaped green. Just imagine that you're about to finish the final round of the U.S. Open in front of a gallery of thousands. Your shot soars toward the green and lands next to the hole for a tap in birdie!